SKU # MOB1016
Stay Safe on Ice, Snow, and Uneven Terrain
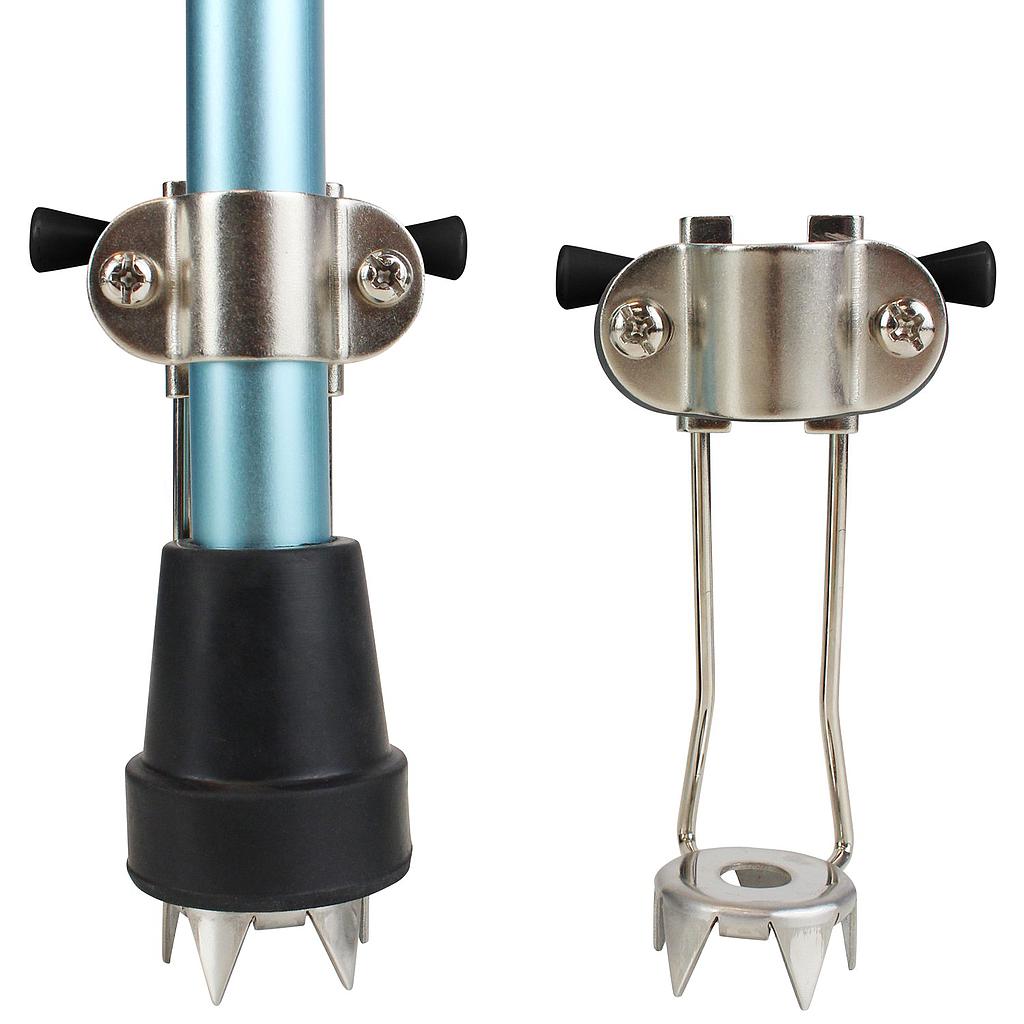
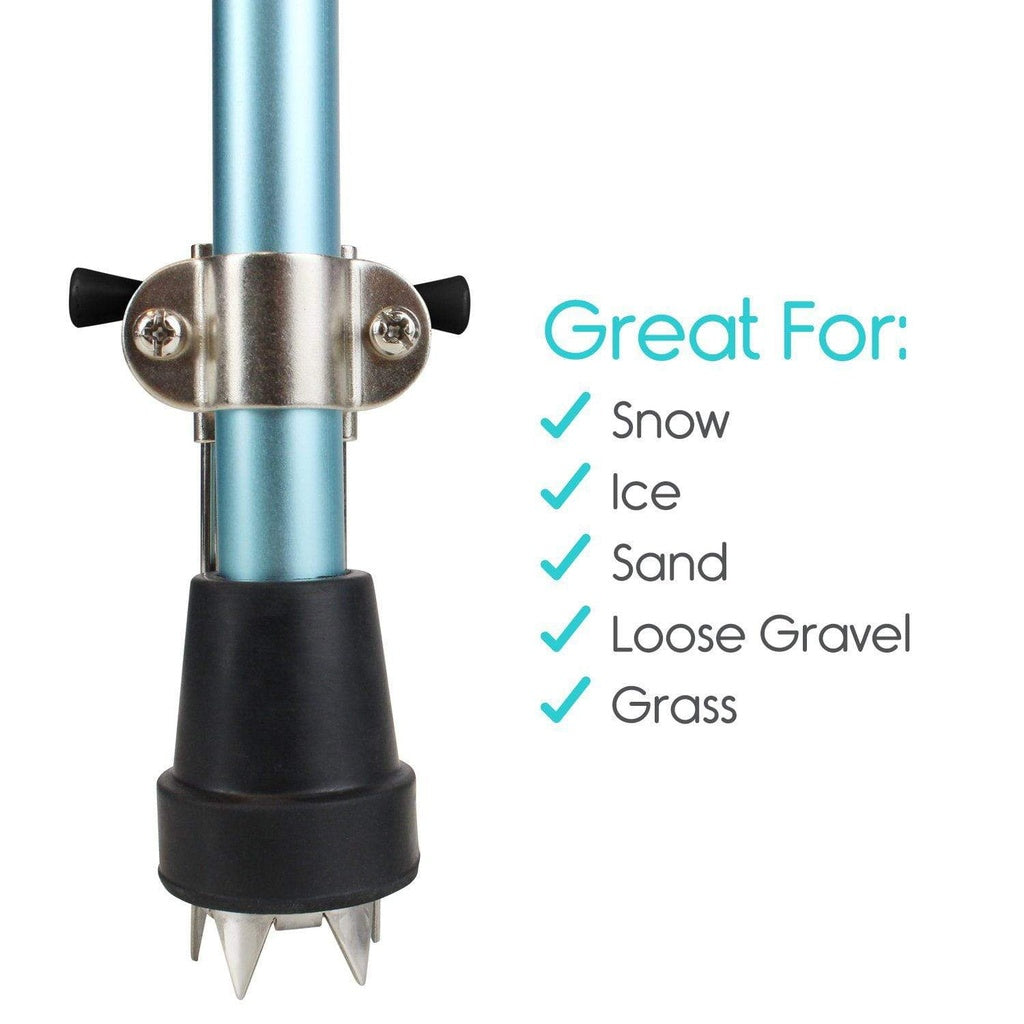
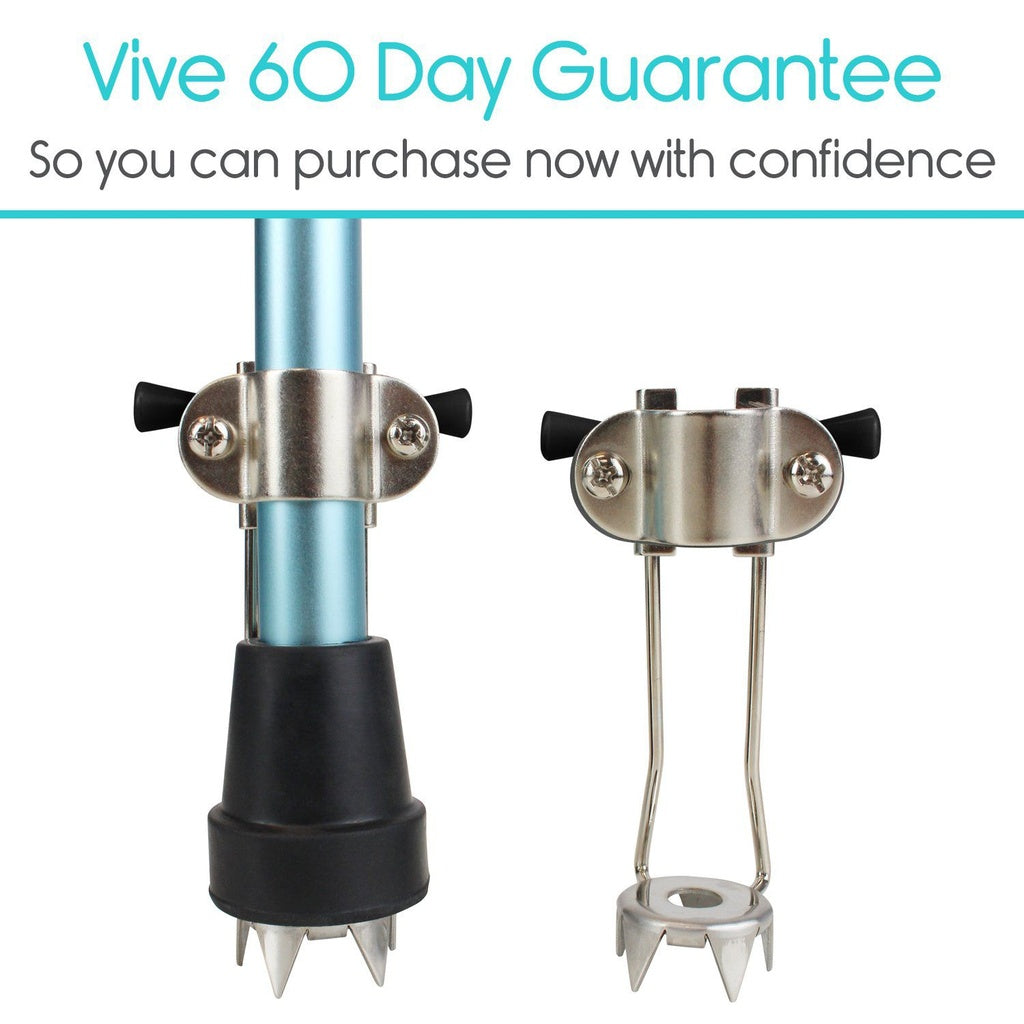
Navigate confidently through winter’s icy sidewalks, snowy paths, or even loose sand and gravel with the Vive Cane Ice Tip Attachment. Designed with a five-prong carbon steel grip, this durable accessory provides reliable traction on slippery and unstable surfaces. When transitioning indoors, the flip-up design conveniently stores the ice tip out of the way to protect floors and is designed for everyday use unnecessary wear.
FEATURES
Enhanced Stability in Hazardous Conditions
Perfect for navigating icy sidewalks, snowy driveways, or wet grass, the Vive Cane Ice Tip reduces the risk of slips and falls. It also provides dependable support on loose gravel, sandy beaches, and other uneven terrain.
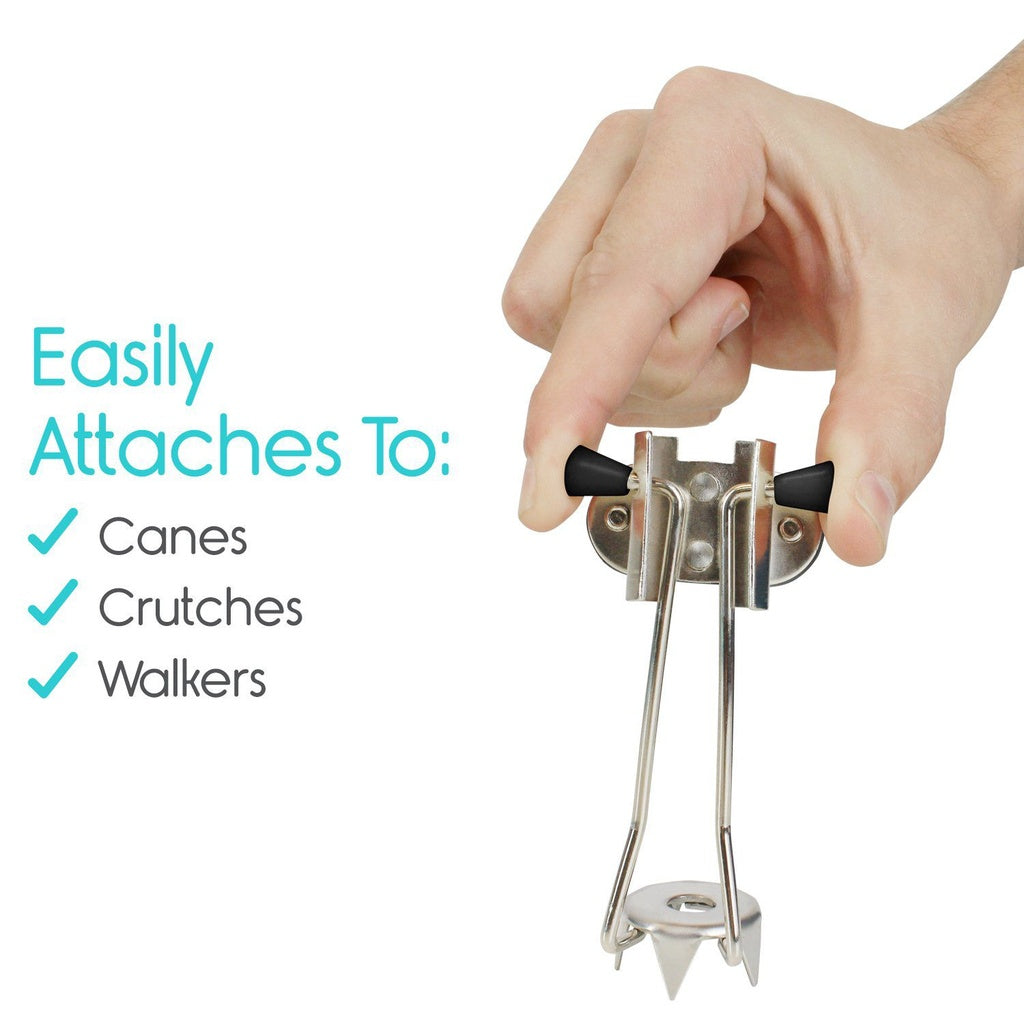
Universal Fit for Canes, Crutches, and Walkers
Easily attach the ice tip to most movement aids, including standard and folding canes, axillary crutches, forearm crutches, and walkers. Designed to fit cane shafts with diameters from 2” to 3.75”.
Durable Five-Prong Design
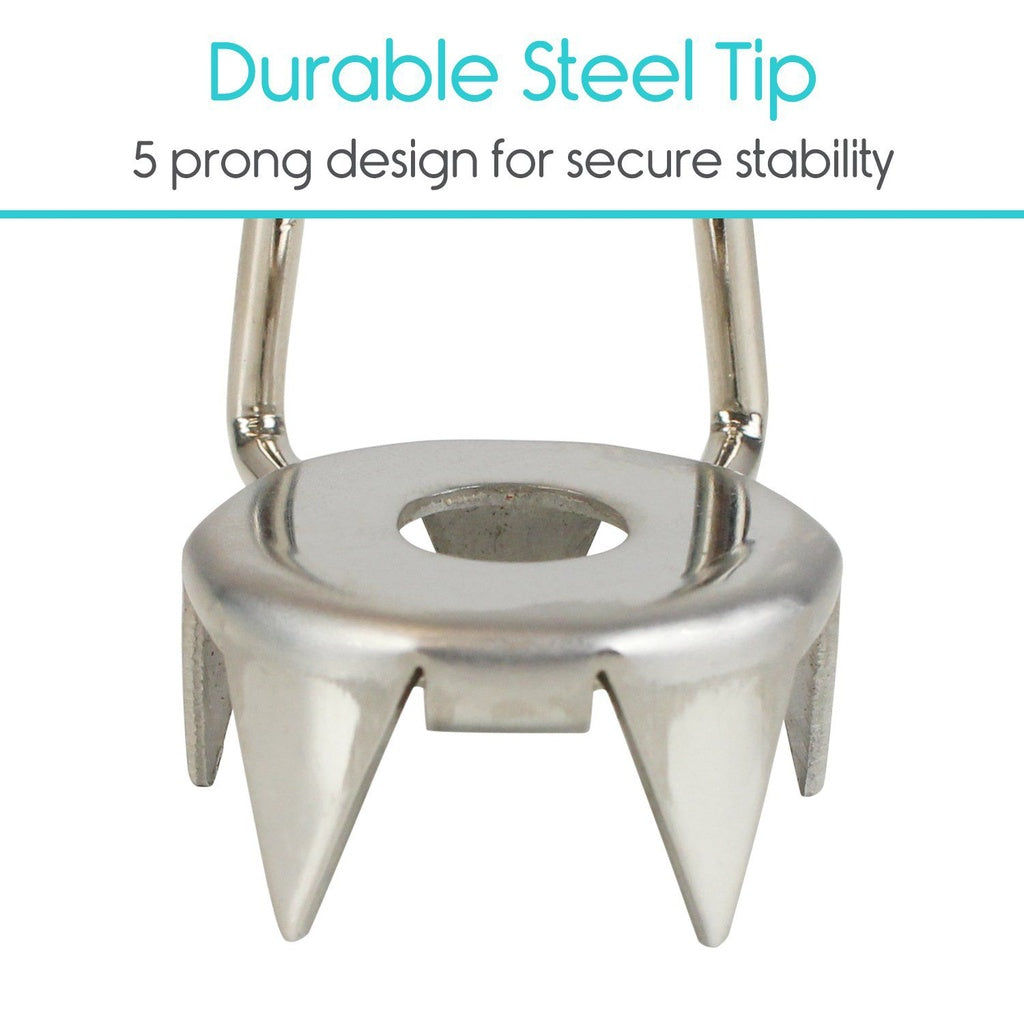
Constructed from high-quality carbon steel, the five sharp prongs dig into ice and snow for superior grip and balance.
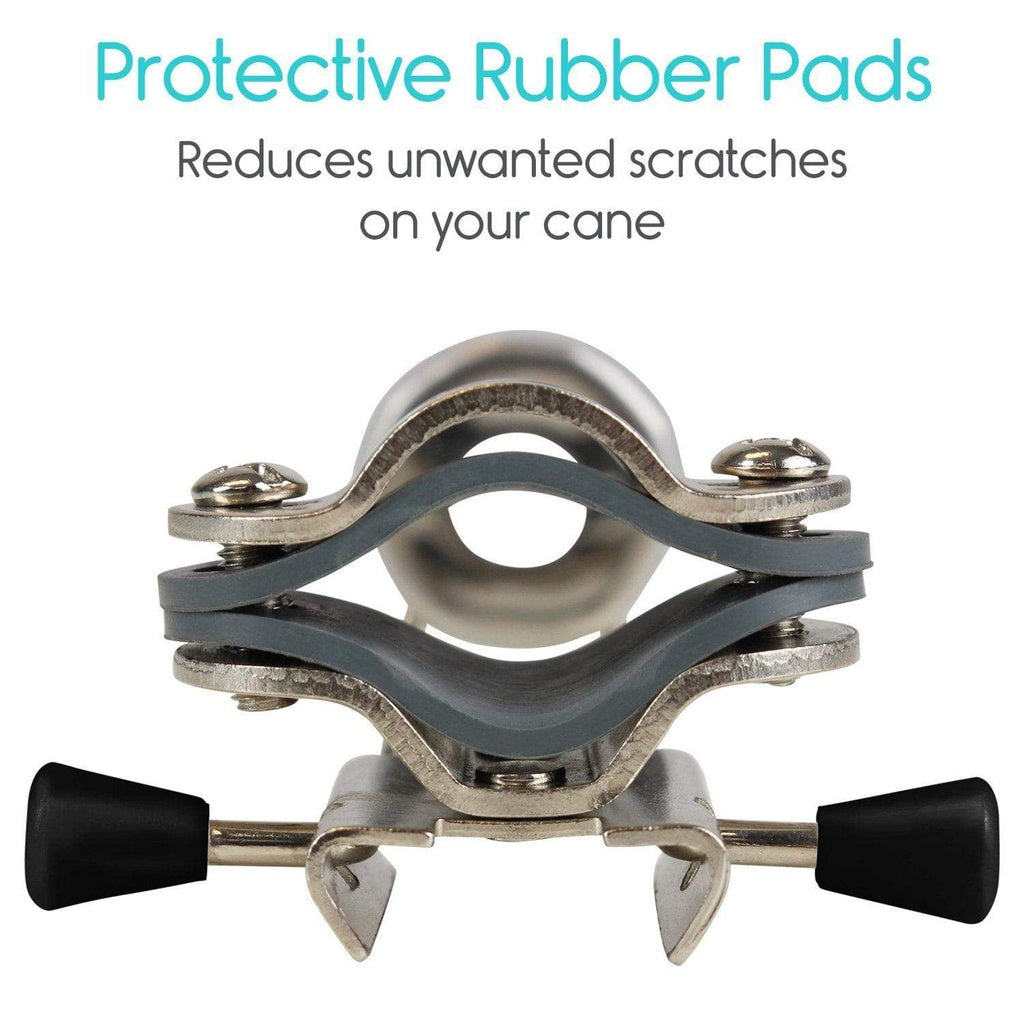
Flip-Up for Indoor Convenience
Transition effortlessly from outdoor to indoor use with a simple flip-up mechanism. A nonslip rubber pad protects the cane and is designed for everyday use sliding when the ice tip is not in use.
GENERAL SPECIFICATIONS
What’s Included:
Uses:
Fits:
Materials:
-
Carbon Steel
-
Rubber Nonslip Pad
-
Zinc-Plated Screws
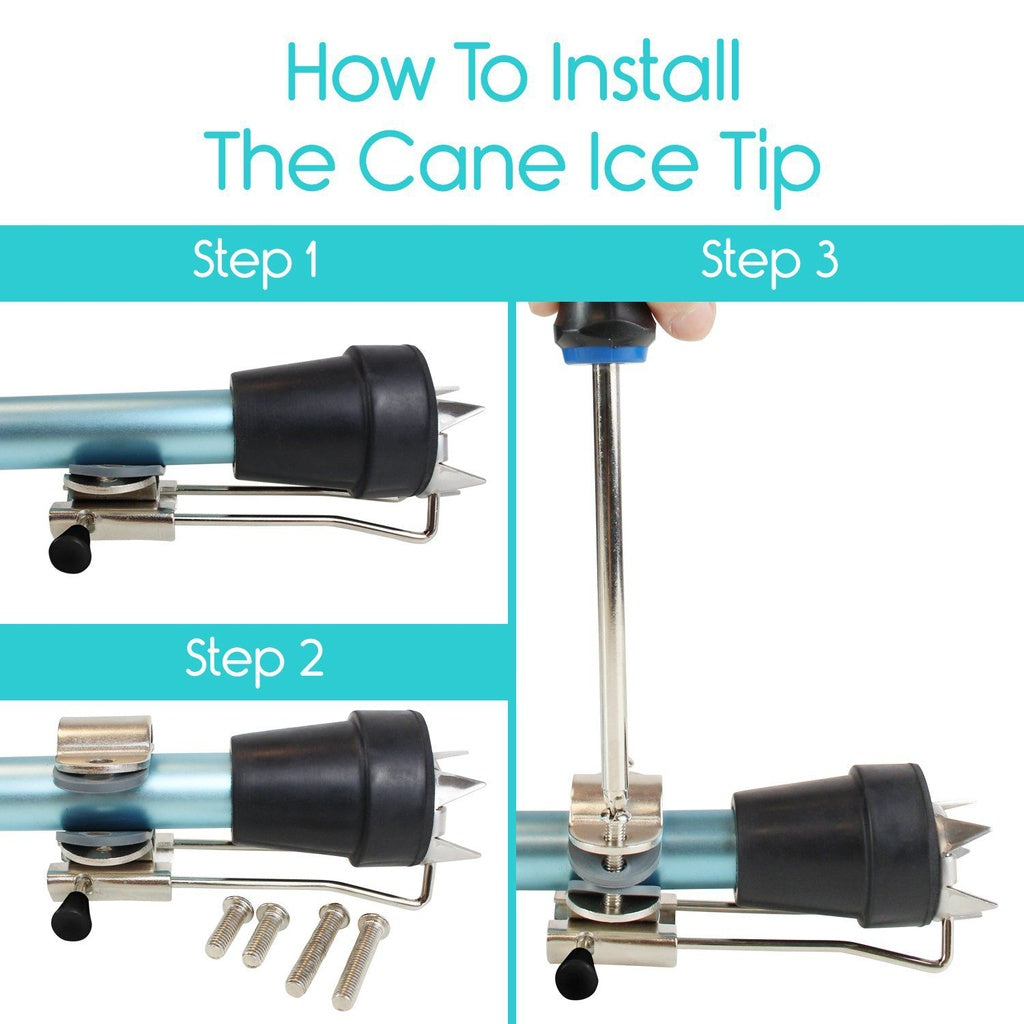
How to Install:
-
Place one rubber pad and the ice tip mechanism against the cane shaft.
-
Place the second rubber pad and clamp on the opposite side, aligning the holes.
-
Tighten screws on both sides using a Phillips head screwdriver until seaddress.
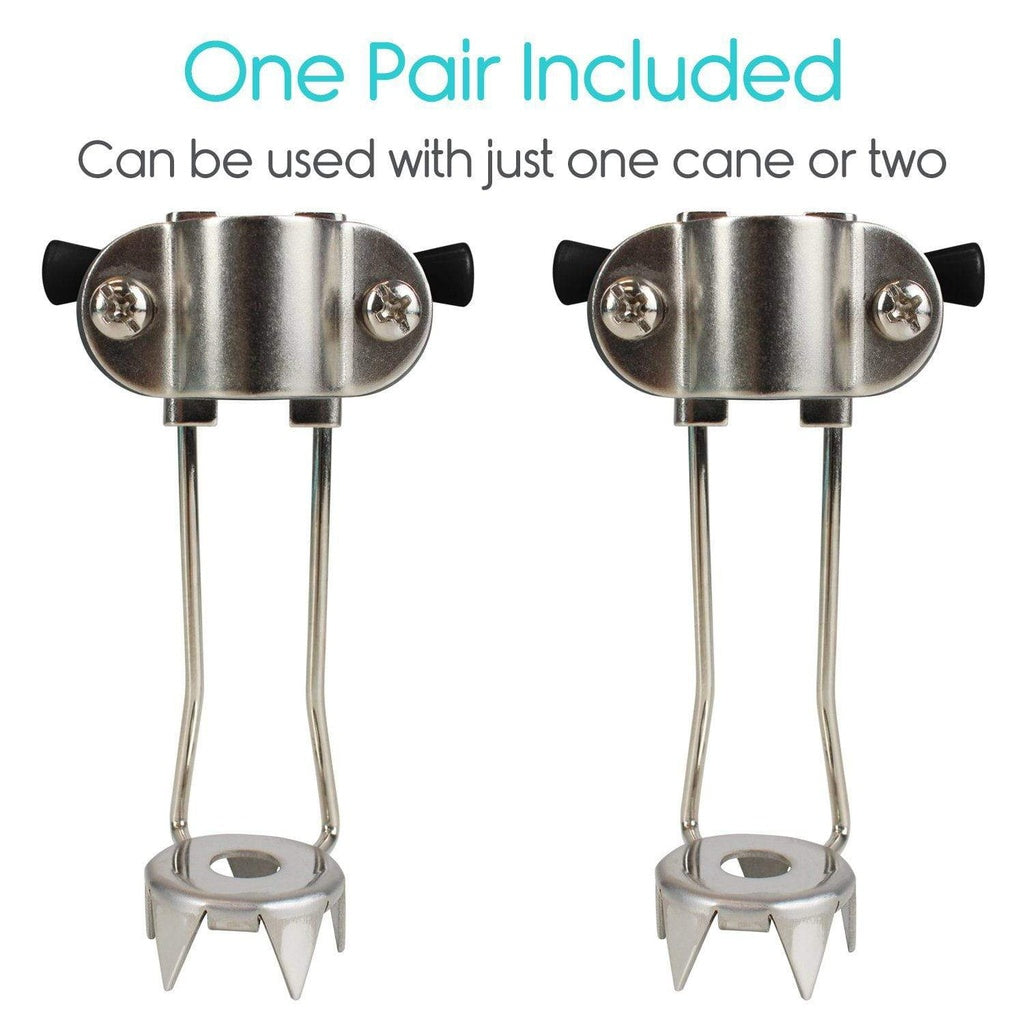
Quantity: 1